Most photographers leave Kruger with blurry, distant smudges where lions should be. The difference between those shots and frame-filling, razor-sharp Big Five images often comes down to one thing: knowing exactly which kit to bring and how to use it from a vehicle window. Full-frame bodies, the right telephoto range, and a few counterintuitive settings can completely transform your results. Read on to find out what belongs in your bag and why.
Choose Camera Bodies With Fast AF and High-ISO Performance
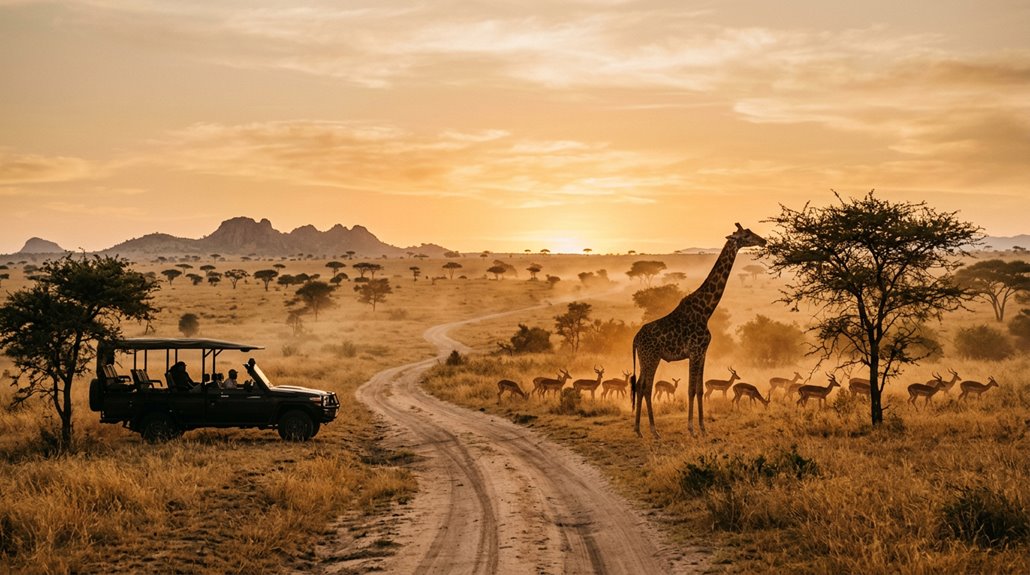
Pick a body with fast autofocus and strong high‑ISO performance to handle Kruger wildlife. You want reliable AF tracking for moving subjects, especially for big five wildlife photography and birds. Choose a body with phase‑detection AF and high frame rates. Examples: Sony 759‑point AF with Real‑time Eye AF, Canon 1D X Mark III at 20 FPS, Nikon Z8 with 45 MP BSI sensor. Full‑frame sensors give better noise control. High‑ISO lets you keep fast shutter speeds at dawn and dusk. Expect ISO ranges used in Kruger up to 12,800. DX bodies effectively extend your reach by 1.5×, which can be useful on safari. Ranger‑led open vehicle drives give you elevated, unobstructed angles that dramatically improve your ability to track and photograph fast‑moving wildlife in the bush. – Sensor types: BSI, stacked, global shutter. – Burst rates: 20 FPS, 40 FPS, 120 FPS modes. – Strategy: use multiple bodies to avoid lens changes on dusty roads. You’ll get consistent, professional results and feel part of a capable team.
Pick Telephoto Lenses: 100–400mm Vs 200–600mm (And When to Use 300–400mm)
Decide between a 100–400mm and a 200–600mm based on distance, light, and how close vehicles get to subjects. You’ll pick 100–400mm for mixed mammal work, roadside encounters, and shorter minimum focus distances. You’ll pick 200–600mm for distant birds, shy predators, and open savannah subjects.
Choose 100–400mm for mixed mammals and low‑light flexibility; choose 200–600mm when distance and shy, distant subjects demand reach
“300–400mm often covers most mammal encounters when vehicles are reasonably close.” It gives full-body or head-and-shoulders framing without extreme reach. Booking a private Kruger National Park tour with knowledgeable rangers can dramatically improve your chances of getting close enough to subjects for shorter focal lengths to perform at their best.
Key specs:
- 100–400mm: wider aperture at short end, shorter minimum focus distance, lighter handling.
- 200–600mm: max reach, variable aperture f/5.6–6.3 at long end, slower in low light.
Operational rule: choose reach over aperture when distance dominates, choose 100–400mm when flexibility and low‑light control matter. Additionally, if you expect very distant subjects like small birds or far-off predators, consider the 200–600mm reach.
Support, Stabilisation, and In‑Vehicle Techniques (Beanbags, Monopods, Door Mounts)
Stabilising your kit in a safari vehicle makes the difference between a sharp frame and a wasted sighting. Use safari camera bean bags as primary in-vehicle support. Rest the lens barrel directly on the bag, keep the window partly raised for an edge, and reduce shake for safari telephoto lenses like 200–600mm.
“Monopods and tripods are rarely used inside vehicles.” They’re bulky, slow to reposition, and limit quick framing. Carry a small travel tripod for camp or hides, not for game drives.
Practical vehicle techniques:
- Partially rolled window as stabilising edge.
- Door tops, rooflines, and rails as hard supports.
- Position vehicle to face subject; move slowly for steady framing.
When you need a complete change of pace from the bush, KwaZulu Natal offshore fishing offers an entirely different kind of pursuit along the South African coastline. Bring a fill-at-destination rice or bean backup. Dust-proof your gear consistently. Use cameras with good ISO performance for low light to maintain image quality when shooting during dawn or dusk good ISO performance.
Low-Light Settings and Workflow for Dawn and Dusk Drives
After you’ve settled your kit in the vehicle using beanbags or door-top supports, the light before sunrise and after sunset demands a different approach. You’ll prioritise shutter speed over low ISO; a sharp noisy frame beats a clean blurred one. Use the widest practical aperture (f/2.8–f/5.6). Run Manual mode with Auto ISO and expose for mid-tones. Check the histogram, protect highlights, and accept noise as part of low light bush photography. Remember to pre-visualise likely animal behaviour and have settings ready so you can react in a split-second. If you’re travelling with camera equipment alongside firearms, ensure your South African hunting permits and firearm import documentation are fully prepared before departure to avoid any delays that could cut into valuable shooting time at dawn or dusk.
After settling your kit, prioritise shutter speed—wide aperture, Manual with Auto ISO; accept noise over blur.
- Baseline: shutter 1/250–1/500s for still subjects, 1/1000s for moving action, aperture f/2.8–f/5.6, ISO up to 6400–12800.
- Workflow: preset wide aperture, Auto ISO, burst mode, adjust shutter by subject motion.
- Focus: reliable wildlife photography autofocus, continuous AF, back-button focus.