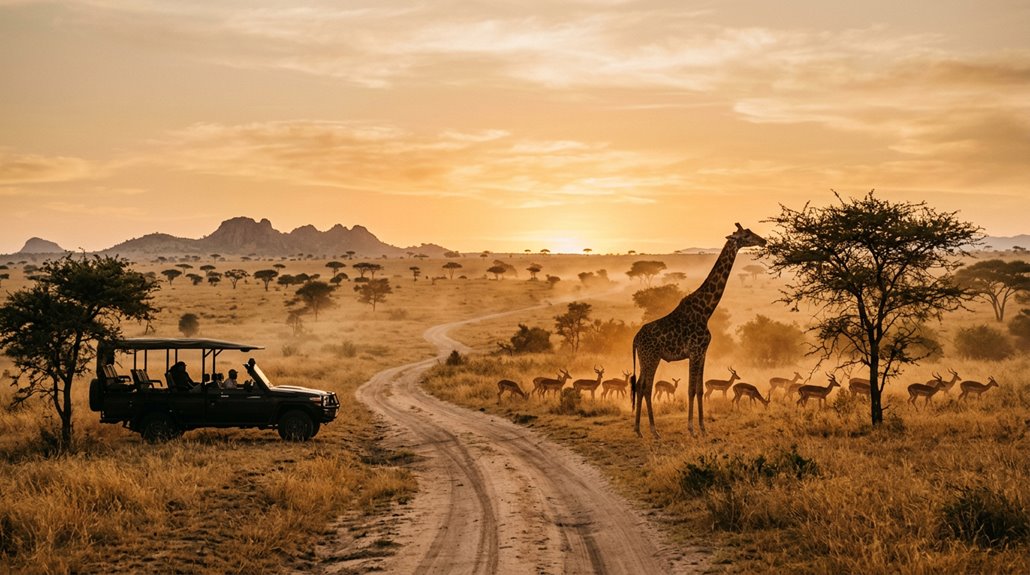
Most hunters ruin a trophy in the first 60 seconds without even realising it. The difference between a breathtaking mount and a mediocre one happens in the field — long before any taxidermist gets involved. From stopping visible bleeding to the precise way you position and photograph your animal, every decision compounds. Salt, temperature, and timing are ruthless judges. Get any one of them wrong, and no amount of skill in the studio will save what you’ve lost.
Immediate Steps After the Jab
After the shot, act quickly and methodically to control blood and prepare the trophy for photos. You wipe excess blood from the face, mouth, horns, and visible body areas, using wet wipes or paper towels. Tuck the tongue back inside the mouth to reduce visible gore. Reposition the animal if blood pools on the ground.
“You should set the animal in a bedded or resting position when possible.” Fold front legs under the chest when stiffness allows. Leave back legs extended if needed. Turn the head to one side for a clean profile.
Field preparation tips for lighting and background:
- Use even lighting, all in sun or all in shade.
- Clear grass, sticks, packs, and vehicles.
- Shoot low, on level, and take multiple angles.
This is professional trophy field preparation for a great result. Expert skinning and cleaning performed in the field ensures the highest quality of every skin and set of horns, protecting your trophy for professional taxidermy mounting later.
Field Dressing for Trophy Quality
You’ve already set the animal for photographs and controlled visible blood; now focus on field dressing to preserve trophy quality and meat. You position the carcass on its back, head slightly uphill, legs spread with rope. You wear gloves, use a sharp knife, and make a shallow incision from above the pelvis towards the chest. You avoid puncturing organs and the bladder. You separate the diaphragm and remove organs carefully. You drain and prop the cavity for airflow, aiming for under 5°C (40°F) as soon as possible. Hunters should also remember to attach the legal tag immediately after confirming the animal is dead to meet legal obligations. Before departing for your hunt, coordinating South Africa hunting permits with a professional team ensures your documentation is accurate and your arrival is stress-free.
| Care | Action | Feeling |
|---|---|---|
| Tagging | Legal tag first | Relieved |
| Cape | Circular cut behind front legs | United |
| Head | Cut at skull base | Confident |
| Cooling | Insert ice if >5°C | Delighted |
You follow trophy-focused handling for cape, shoulder mount preparation.
Skinning and Caping for Mount Types
Start by identifying the mount type, because the skinning line and required hide length change the entire process. You’ll choose shoulder, full-body, or European before cutting. Shoulder mounts need at least 6 inches behind the front legs, 12 inches if repairs are expected. Preserve the brisket for the manikin. Hunters should plan logistics for backcountry retrieval and cape care.
“Key caping routes and face work.”
- Y, T, and Seven incisions suit different shapes.
- Dorsal skinning runs head to tail, keeping cuts on the hidden side.
- Face work: cut at the gum line, free eyelids and tear ducts, follow nose cartilage.
“You’ll protect cape fit and prevent hair slip trophies.”
Leave extra neck and shoulder hide for trimming and pattern alignment. Working with South African hunting outfitters who manage field logistics ensures capes arrive at the taxidermist in prime condition. This yields a great result and delighted clients.
Cleaning, Salting, and Preventing Hair Slip
Once the caping and face work are complete, you must clean and preserve the hide immediately to prevent hair slip. Scrape meat and tissue off quickly, wash blood and dirt with cool water, and cool the hide fast. Bacteria grow in warm, moist conditions. Use non-iodised salt for salting animal hides, cover every part, and rub into folds, ears, and creases. Prevent skin-to-skin contact and crumpling. Re-salt if the hide stays in the field longer than 3–4 days. Let salted hides drain 48–72 hours, then check and add salt so visible crystals remain. Dry in shade with airflow, never in direct sun. Store in sealed totes away from rodents and rain. These steps support African hunting taxidermy and a great result. Working with professional wildlife guides who understand animal anatomy and bush conditions can also inform better field preparation decisions. Continuous moisture promotes bacterial growth.
Transport, Documentation, and Working With Your Taxidermist
- Verify permits: include CITES if needed, packing list, and owner records.
- Coordinate: confirm whether you send whole, skinned, or partially prepared specimens, and agree pickup dates. Partnering with outfitters who provide field preparation services ensures your trophy is handled correctly from the moment it leaves the hunting grounds.
- Document: photograph condition, retain shipping papers, and confirm taxidermist licence. Additionally, consult experienced taxidermists and transport specialists to plan logistics and legal requirements, especially regarding shipping regulations.